Key Takeaways
Video content is essential for Acumatica training, as it significantly enhances knowledge retention and provides a consistent learning experience across various user roles. Unlike text manuals, training videos cater to different learning styles and can break down complex tasks into manageable segments. This guide emphasizes the importance of focused planning, light scripting, and a well-prepared recording environment to create effective training videos. It also highlights the advantages of using ClickLearn to streamline the video creation process, ensuring accuracy and efficiency while maintaining high-quality instructional content.
- **Identify key topics and user roles to create targeted, concise videos (3-6 minutes each).**
- **Collaborate with Subject Matter Experts (SMEs) to validate content and gather insights.**
- **Use ClickLearn to capture and document training processes automatically.**
- **Edit and enhance recordings with clear step descriptions and additional context.**
- **Publish in multiple formats (video, PDF, PowerPoint) to accommodate various learning preferences.**
- **Update training materials easily when Acumatica changes, ensuring content remains relevant.**
Action Items
- Plan and outline your Acumatica training video objectives.
- Collaborate with SMEs for content accuracy.
- Set up a distraction-free recording environment using ClickLearn.
Why opt for video content for Acumatica training?
Studies show video-based training significantly improves knowledge retention compared to text-only manuals. Training videos also ensure a consistent learning experience for all users (everyone sees the same demo) and accommodate different learning styles (visual, auditory, etc.).
This guide will walk you through how to do Acumatica training videos effectively – from planning and recording to editing, sharing, and maintaining your content. The tips below are tailored for trainers and Acumatica administrators in enterprise environments, offering a friendly but professional roadmap to create engaging instructional videos.
1. Plan your Acumatica training video content and objectives
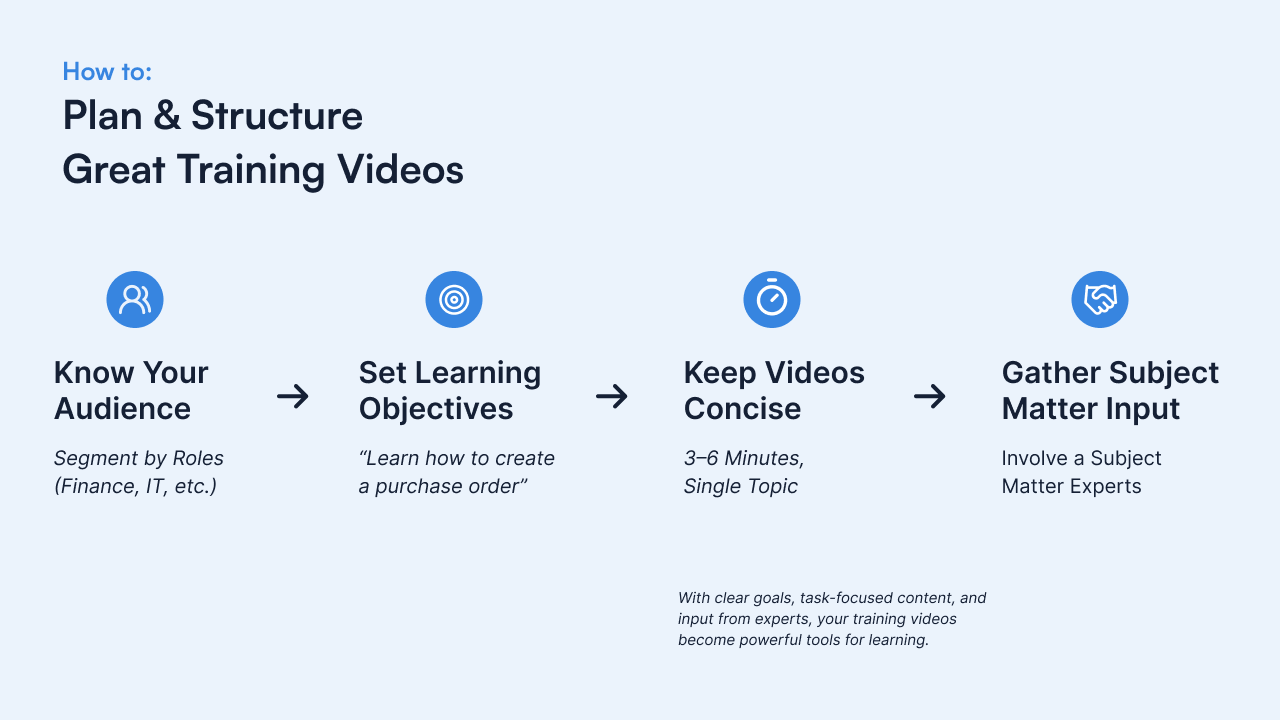
Discover how to create Acumatica training videos effectively to enhance user learning and engagement. Before hitting the record button, take time to plan what you’ll cover and who it’s for. Acumatica is a broad system spanning accounting, CRM, inventory, and more, so it’s impractical to cover everything in one video.
Instead, identify the key tasks or processes your users need to learn. Break the training into focused topics – for example, creating a new sales order, running a financial report, or onboarding a new vendor. Each of these tasks can become a standalone short video rather than one lengthy tutorial.
This approach helps you estimate the scope of your video project and ensure each video has a clear objective (e.g. “By the end, you’ll know how to generate an invoice”). Also consider segmenting by user role or department – a warehouse manager may need different videos than a finance user. By prioritizing the most important processes for each role, you ensure relevance and keep your audience’s attention.
Set learning objectives
For each video, define what the viewer should be able to do after watching. Clear learning objectives keep your content focused. For example, “Learn how to create a purchase order in Acumatica and understand the approval workflow”. With goals in mind, it’s easier to decide what to include (and what to skip) in the recording.
Keep videos concise
Aim for a runtime in the 3–6 minute range for single-topic tutorials. Viewers engage most with videos up to around six minutes, with engagement dropping off in longer videos. If a process is complex, consider splitting it into a short series rather than one long video. A sequence of bite-sized videos prevents cognitive overload and keeps learners motivated through quick wins.
Gather subject matter input
If you’re not the day-to-day expert on the process you’re recording, collaborate with Subject Matter Experts (SMEs) in that area. An accounting manager or operations specialist can validate that your steps are correct and share insider tips or common pitfalls to mention. Involving SMEs also increases credibility – you’re capturing the “tribal knowledge” of your organization’s top users to share widely. A brief interview or review session with an SME before recording can surface valuable insights to include in the video (and ensure you don’t teach a process incorrectly).
2. Outline the Process: Learn How to Create Acumatica Training Videos with (Light Scripting)
One major benefit of using a digital adoption platform like ClickLearn is that it minimizes the heavy scripting work traditionally needed for training videos. In a manual process, you might write a detailed script of every click and sentence before recording. With ClickLearn, the software will capture each step and even generate draft instructions for you, so you can afford to script more lightly. That said, it’s still wise to outline the flow and key messages of your Acumatica training before you hit record:
Define the training goal: Be clear about what Acumatica task or process you are teaching. Is it “How to create a new Sales Order” or “Perform an End-of-Month Closing”? Having a focused goal ensures you record just the necessary steps and keep the lesson concise. Jot down the name of the process and the expected outcome for the learner.
List the steps or scenario: Write a brief outline of the steps you’ll perform in Acumatica. You don’t need to describe every button click in writing (ClickLearn will do that for you), but have a sequence in mind. For example: 1) Navigate to Sales Orders; 2) Click Add New Order; 3) Enter customer info; 4) Add line items; 5) Save and confirm. This outline acts as your roadmap during recording so you don’t miss a critical step.
Note any commentary or tips: Think about what context or tips a trainee might need at each step. Perhaps you want to mention “why” a step is important or what might happen if done incorrectly. You can plan a few brief comments to include. With ClickLearn, you’ll have the chance to insert these as text prompts or even as voice narration (manually recorded or using text-to-speech) after capturing the raw steps. Having them in mind now will make editing easier later.
Decide on narration style: If you intend to use your own voice, you might script out exactly what you will say for the intro or for complex parts of the process. Keep it conversational and concise. If you plan to rely on ClickLearn’s automated narration, you can simply ensure the on-screen text it generates will be clear (you’ll edit that text soon). In either case, knowing how you’ll convey information (voice, text bubbles, or both) is useful before recording.
This light scripting phase isn’t about writing a full screenplay – it’s about being prepared. With an outline, you won’t find yourself pausing mid-recording trying to remember the next step. And because ClickLearn will automatically create the initial documentation for each step, you can focus your energy on what you’re teaching rather than worrying about how to phrase each instruction in the moment. In summary, come in with a game plan for your training session. ClickLearn will handle the heavy lifting of capturing and documenting the clicks, while you provide the expertise and context that make the training truly valuable.
3. Set up your recording environment
To set up your environment effectively, understanding how to create Acumatica training videos is crucial for ensuring quality and consistency. Before you begin capturing an Acumatica tutorial with ClickLearn, take a few minutes to prepare your environment. A well-prepared setting ensures a clean, distraction-free recording and saves time later. Key steps to set up include:
Use a demo or test instance: Launch an Acumatica sandbox or training environment with representative data. This way, you can perform the training scenario (e.g. entering a sales order or running a report) without affecting real production data. A dedicated training instance also lets you showcase features freely, and it keeps your recordings professional (no confidential or live data popping up unexpectedly).
Optimize your screen and settings: Set your display resolution to a standard size so that screenshots and videos are clear. Close any unrelated applications and browser tabs. Disable notifications (email pop-ups, chat messages, etc.) on your computer. This prevents interruptions or confidential info from appearing mid-recording. Also, make sure Acumatica is configured with the correct role or user account that has access to the functions you want to demonstrate. For example, if you’re recording a Purchasing process, log in as a user with appropriate purchasing permissions.
Prepare audio (if recording voice): If you plan to narrate with your own voice, use a good quality microphone and choose a quiet space. Do a quick sound test to check your microphone levels and clarity. However, note that ClickLearn can automatically generate voice narration using text-to-speech in many languages, so recording your own voice is optional. You might decide to skip the live narration and use the tool’s automated voice for a perfectly synchronized commentary – a huge plus if you’re not comfortable speaking on recordings.
Have a ClickLearn project ready: Open ClickLearn and create a new project or recording session for your Acumatica training topic. Ensure the ClickLearn recorder is connected and ready to capture your screen. You don’t need any complex video setup – ClickLearn handles the screen capture and will later allow editing. Simply verify that the ClickLearn toolbar or recorder window is accessible and Acumatica is open to the starting screen of your process. Having everything launched and logged in (with any necessary modules in Acumatica pre-opened) will make the recording smoother.
By spending a little time on these setup steps, you’ll avoid re-recording due to avoidable mistakes. In short, set yourself up for success: a quiet, controlled environment and a prepared Acumatica instance mean you can focus entirely on the process you’re about to capture, rather than firefighting issues while recording.

4. Record the Acumatica training video (step-by-step)
Recording the Acumatica training video is where you put into practice how to create Acumatica training videos efficiently using ClickLearn. Now for the fun part – recording the actual process in Acumatica. ClickLearn simplifies the recording stage dramatically compared to traditional screen recording tools. You won’t be juggling between performing the task and narrating every action simultaneously; instead, you’ll let ClickLearn quietly log each step as you go. Here’s how to record your Acumatica procedure using ClickLearn:
Start the recorder: In the ClickLearn interface, click the option to start a new recording. Select the Acumatica application or browser window as the target if prompted. (ClickLearn is aware of Acumatica’s interface, so it can capture field names and UI elements intelligently.) Once you hit “Record,” everything you do in the Acumatica window will be tracked.
Perform the task in Acumatica: Go through the process exactly as you want your users to learn it. For example, if you’re teaching Invoice Creation, navigate through Acumatica’s menus and forms performing each step – ClickLearn will capture every button click, menu selection, and data entry. You do not need to describe out loud what you’re doing; simply focus on executing the steps correctly and in the right order. A small highlight or indicator may show as ClickLearn captures each action. Tip: move at a steady, normal pace and allow each screen to load fully, so the tool records screenshots and UI elements properly. If you realize you made a mistake, you can simply redo the action – ClickLearn can later let you edit or remove erroneous steps.
Pause or annotate if needed: During the recording, you can typically pause if you need to compose yourself or bring up information. You might also have options to add markers or comments through ClickLearn as you record (for instance, flag a step that you want to add a special note to later). If something complex is happening, don’t worry – you can always insert explanatory text or audio in the editing phase. For now, it’s fine to capture the raw sequence of actions.
Stop recording and save: Once you’ve completed the entire process, stop the recording in ClickLearn. The software will then compile all the captured steps into a structured format. You’ll see a list of steps with automatically generated descriptions and screenshots. Take a moment to save or name the recording (e.g., “How to Create Sales Order”) in your ClickLearn project. You now have the foundation of your training content ready.
After recording, ClickLearn has essentially drafted your training material for you. Every interaction is documented – for example, if you clicked the Customers menu and then New Customer, the tool will have a step like “Click Customers > New Customer” accompanied by a screenshot of that action. This is a huge time-saver: instead of manually writing down each step or trying to remember what you did, you have an exact log generated in seconds. Recording with ClickLearn in Acumatica is like having a virtual assistant observing your demo and taking perfect notes and screenshots along the way.
By relying on ClickLearn for the capture, you ensure consistency and accuracy in your training material – the steps aren’t based on memory or separate documentation, they’re the exact actions performed in the system. This method not only speeds up content creation, it also captures those little expert moves you might do without thinking (for instance, using a shortcut or a specific navigation path), so that new users can learn directly from an expert’s real demonstration. In essence, you’ve just recorded a high-fidelity blueprint of an Acumatica task that you can now turn into multiple training formats.
Using ClickLearn to create Acumatica training videos
While traditional training video creation often involves juggling screen recorders, scripting tools, and video editors, ClickLearn streamlines the entire process. Instead of manually recording your screen and narrating over raw footage, ClickLearn captures your actions inside Acumatica as structured steps — automatically generating video tutorials, written guides, interactive simulations, and more from a single recording. It’s a powerful solution especially suited for enterprise environments, where consistency, accuracy, and ease of updating are critical.
The following sections walk through how to create Acumatica training videos using ClickLearn, from preparation to publishing. Whether you’re building your first tutorial or maintaining a full library of ERP walkthroughs, this process is designed to save time while improving training quality.
5. Edit and enhance the content
With the raw recording in hand, ClickLearn enables you to edit and polish the content without traditional video editing headaches. This stage is where you turn the automatically captured steps into a smooth, easy-to-follow Acumatica training piece. The good news: most of the heavy lifting is already done by ClickLearn – you’ll be fine-tuning rather than starting from scratch. Here’s how to enhance your recording:
Review and refine step descriptions: ClickLearn will have generated a text description for each step (e.g., “Click Save to save the record”). Go through these and make sure they use language your audience will understand. You might simplify a description or add detail (“Click Save to save the sales order and generate an order number”). Because the text is captured from Acumatica’s UI labels, it should already be accurate and consistent with the software, which helps avoid confusion. Edit any terminology if needed to match what your organization uses (for example, if you call customers “Clients” in your training, adjust the wording accordingly). This is far easier than editing a voice-over in a video – it’s just text editing in an editor pane.
Insert additional explanations or tips: If there are any steps where a bit of extra context would help the learner, insert a note or a tip. For instance, “Note: The order will only be saved as a draft until you mark it as Completed” could be added after a saving step. You can also highlight critical fields or common pitfalls (“Make sure to select a Payment Term here, as it defaults to COD”). ClickLearn lets you add such explanatory text boxes or callouts that will appear in the generated materials. This ensures your training isn’t just a raw sequence of clicks, but a thoughtful guide with expert insights.
Add or update media elements: Since ClickLearn captured screenshots automatically, you normally won’t need to take any images yourself. However, you can crop or re-capture a screenshot if something is unclear. For example, if a pop-up menu was open in the screenshot covering part of the screen, you might re-capture that step for clarity. You can also blur out any sensitive information that might have appeared. If you plan to include a video introduction or your webcam feed in the final video, this is where you would integrate it (though typically ClickLearn outputs a screencast of the application, not live video of the trainer). Ensure any corporate branding or required headers/footers are added according to your standards – ClickLearn often allows template customization so all PDFs and slides have a consistent look.
Narration and audio (if applicable): At this point, decide how the audio for the video format will be handled. If you want to use your own voice, you can record the narration for each step or the entire flow within ClickLearn’s editor. This often means recording short audio clips per step, which keeps timing aligned and makes it easy to re-record a specific part if needed. On the other hand, you can leverage ClickLearn’s text-to-speech feature to automatically generate voiceovers from the step text in a natural-sounding voice. The advantage of the automated voice is consistency and the ability to easily switch to other languages or update the narration whenever the text changes. Either way, the narration should be clear and synchronized with the on-screen actions. Listen to a preview of the narrated video if possible, to ensure the pacing feels right – not too fast, and with appropriate emphasis on important points.
Quality check the flow: Do a trial run of the content in ClickLearn’s preview or by quickly publishing a draft. Walk through the steps as if you are the learner: Does each step logically lead to the next? Did you miss a step or include an unnecessary one? Because ClickLearn’s editor lets you reorder or delete steps easily, make any final adjustments to the sequence. Verify that all screenshots match the instructions and that any highlights or cursor animations are correctly placed. This is much simpler than editing a raw video file; you’re essentially proofreading an interactive document. Once everything looks good, you’re ready to produce the outputs.
By the end of the editing phase, you have a polished master version of your Acumatica procedure. You didn’t have to open a separate video editing program or painstakingly splice footage – you just edited text and slides in a guided way. The result is a clean, standardized set of instructions that reads (and sounds) as if you crafted it entirely by hand, but it took a fraction of the time thanks to automation. Moreover, the content is consistent: every screenshot, description, and narration aligns perfectly, because they all came from the same recorded source.
Resources
New webinars, events and blogposts

Webinar

Event
Blog
6. Publish and share your Acumatica training videos
With your ClickLearn recording refined, it’s time to publish and share the training content with your audience. This is where ClickLearn truly shines in simplifying distribution: from that single recording you made, the platform can generate multiple formats of output with one click. This multi-format publishing not only saves you countless hours, it also ensures consistency across all materials – your video, written guide, and slides are all telling the exact same story. Here’s how you can leverage ClickLearn’s outputs for Acumatica training:
Generate various formats
In ClickLearn, choose the publish or produce option. You can typically select which formats to output, or simply generate all available formats at once. The common ones include:
- Video tutorial: A narrated screencast video of the process you recorded. This can be an MP4 or web video that shows the cursor movements and highlights each step, accompanied by the narration (your voice or text-to-speech). It often includes a “Show Me” mode that plays like a demonstration for users to watch, and sometimes even a “Try Me” interactive simulation where users can click through the process themselves in a controlled environment.
- Step-by-step guide (PDF/Word): A textual document with screenshots of each step and the instructions you refined. This can be saved as a PDF or Word document. It’s perfect as a handout or for users who prefer reading instructions. The screenshots are already captured and neatly cropped, and the text is formatted in a clear step-by-step sequence. What might have taken hours of manual writing and image editing is ready to go instantly.
- PowerPoint slides: ClickLearn can produce a PowerPoint deck where each step might be on a slide (often with the screenshot and instruction text). This is incredibly useful for live training sessions or webinars – you have slides ready-made from the same content, which you can present or discuss in a classroom setting. Instead of copying images into slides one by one, you get a complete deck that you can tweak or brand as needed.
- Interactive HTML or LMS content: In many cases, ClickLearn can also output an HTML package or LMS-compatible content (e.g., SCORM package) that can be uploaded to a learning management system. This might include the interactive “try-it” simulation mode, where learners can practice the clicks in a sandbox-like web simulation of Acumatica’s interface, as well as a quiz or test if you design one. It provides a self-service learning experience where users learn by doing, safely.
- Other formats: Depending on your needs, you might also have a one-click option to produce things like an online help portal or knowledge base articles from the content. For example, you could publish the guide to a web portal that employees can access on demand. All these formats are derived from the single source, which means you don’t have to worry about one format getting out of sync with another.
Deliver to your audience
After publishing, decide how to get these materials to your end-users. Some effective ways to share include:
- Upload the video to your internal training site or an accessible platform (many enterprises have a SharePoint, intranet page, or a private YouTube/Vimeo for training videos). The video is a quick win for users who like visual walkthroughs.
- Distribute the PDF guide via email or an internal knowledge base. Users who want a reference manual or prefer reading can use this. It’s also useful for quick look-ups (“Which field do I fill next?”) because they can search the text.
- Use the PowerPoint in the next live training workshop you conduct. You might combine it with Q&A or discussion. Since the slides were auto-created, you can spend your prep time on tailoring your talking points rather than making slides from zero.
- If your organization uses a Learning Management System (LMS), import the interactive content or video into an Acumatica training course module. This way, you can track completion and test knowledge (if you added quiz elements).
Embed in Acumatica (in-app help)
A particularly powerful option specific to ClickLearn is publishing the content to an in-app help portal. ClickLearn allows integration with Acumatica via a side panel or link, so that users in Acumatica can click “Help” on a screen and directly access the relevant ClickLearn guide or walkthrough for that process. This means your users get on-demand guidance right within the software, exactly when and where they need it. As an administrator, you can ensure everyone has access to the latest instructions without them having to search elsewhere.
Maintain and update easily
Once shared, your training materials will live on as a resource. But we all know software like Acumatica can change – new versions, new fields, updated processes. Here’s another huge benefit of having used ClickLearn: updates are straightforward. If something changes in the process, you don’t have to redo everything from scratch. Simply re-open the ClickLearn recording, record any changed steps or screens (or use ClickLearn’s re-record feature on specific steps), and then regenerate the outputs. The text, screenshots, and narrations can be updated in one go.
This guarantees that all your formats (video, documents, slides, etc.) stay in sync with the current Acumatica system. In contrast to a manual approach – where you might forget to update a screenshot in the PDF or have an outdated video – ClickLearn’s single-source publishing means consistency is maintained over time with minimal effort. Enterprise trainers and system admins especially appreciate this, because it ensures training content remains accurate through upgrades and doesn’t confuse users with old information.
By publishing in multiple formats, you accommodate every learning style without any extra work. Some of your staff will love the step-by-step printed guide, others will rely on the video, and some will jump straight into the interactive “try-it” mode. All of them will be learning the same process, the right way, as you demonstrated. And from your perspective, you’ve avoided the tedious task of creating each asset separately or worrying about formatting and consistency. ClickLearn automates the heavy lifting of distribution, leaving you free to focus on the quality of the training itself. Share the materials confidently, knowing that they are uniform, professional, and tailored to make Acumatica learning as easy as possible for your audience.
Best practices for engaging Acumatica training videos
To maximize the impact of your Acumatica training videos, keep these best practices in mind (some we’ve touched on, but they’re worth emphasizing):
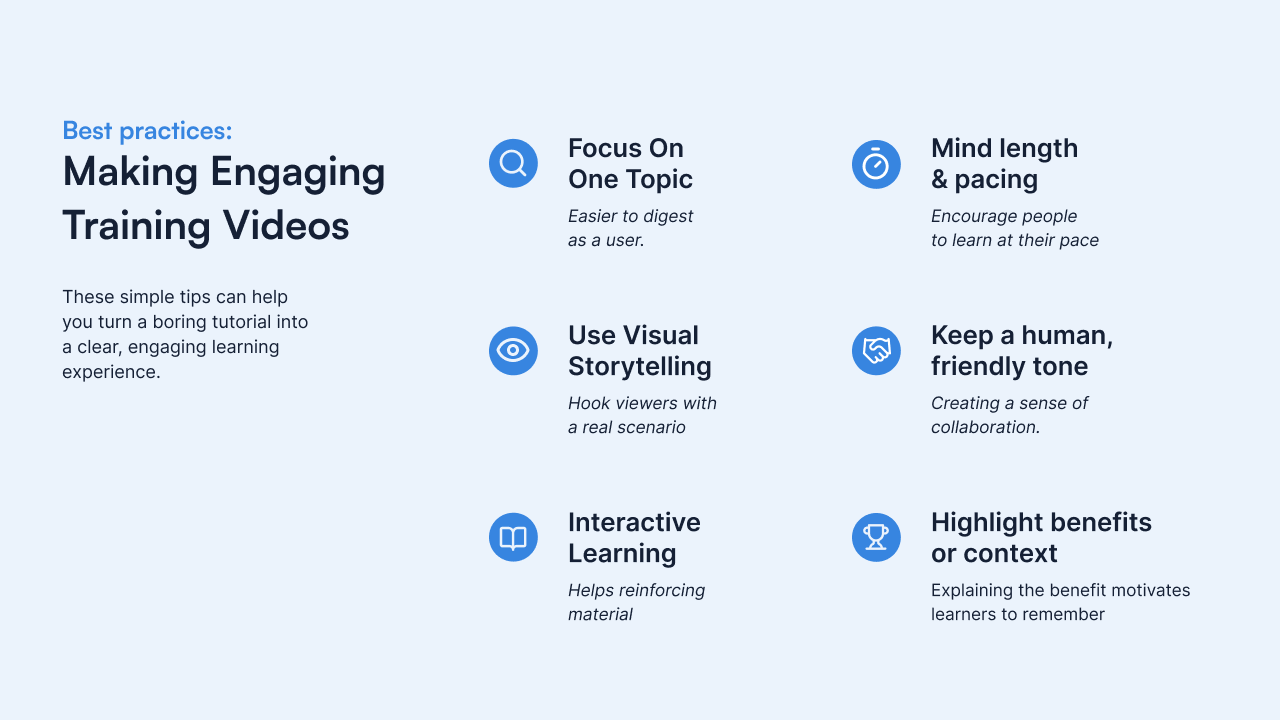
Focus on one topic per video: Avoid the temptation to cram multiple processes into one video. It’s more effective to have a short, focused video on one task than a 20-minute video that tries to cover an entire module. Single-topic videos are easier for users to digest and for you to update when things change.
Make it visually engaging: Use the Acumatica UI to your advantage by showcasing dashboards, charts, or color-coded alerts if those are relevant to the task – visuals like these keep viewers interested. If your process is mostly form entry (which can be a bit static), your narration and occasional on-screen highlights become critical to maintain interest. Consider incorporating a bit of storytelling or scenario: for example, “Let’s say a new customer just placed an order. We’ll walk through how to enter that sales order in Acumatica from scratch.” Framing the task as a real-world scenario can hook the audience by answering the “why do I care?” question.
Keep a human, friendly tone: Remember, the video is essentially you (or the narrator) coaching a colleague. A friendly, encouraging tone helps learners feel comfortable. It’s okay to use “we” or “let’s” (e.g., “Next, let’s select the customer from the list”) to create a sense of collaboration. Stay professional – avoid slang or jokes that might not land well – but do sound like a helpful teammate rather than a dry textbook. This human-first approach makes the content more relatable and less intimidating.
Highlight benefits or context: Where appropriate, mention why a step or feature is useful, not just how to click it. For instance, “By using the Copy Order feature, we save time when many order details are similar to a previous order.” Explaining the benefit motivates learners to remember and use the feature in their job. It connects the training to real business value, which adult learners appreciate.
Mind the length and pacing: We said it before but it bears repeating: short and sweet wins the day. If during editing you realize a section of your video isn’t providing much value, consider cutting it. You can also use slightly faster editing (tight cuts) to remove downtime. However, don’t cut so much that the video becomes too fast to follow – it’s a balance. If needed, you can explicitly tell viewers “feel free to pause or rewind the video at any point” to remind them they can control the pace on their end.
Incorporate interactivity if possible: While a basic video is one-way, consider offering a follow-up exercise or knowledge check to make the learning active. For example, after watching the video, you might direct users to “now try entering a sample invoice in your Acumatica training environment”. If you have the resources, you could also create interactive video elements (some tools allow quizzes embedded in videos, or branching scenarios). Interactive training can deepen engagement by turning a passive watch into an active try. Even simple Q&A in a live session or forum post-video can help reinforce the material.
Keep content updated and iterate
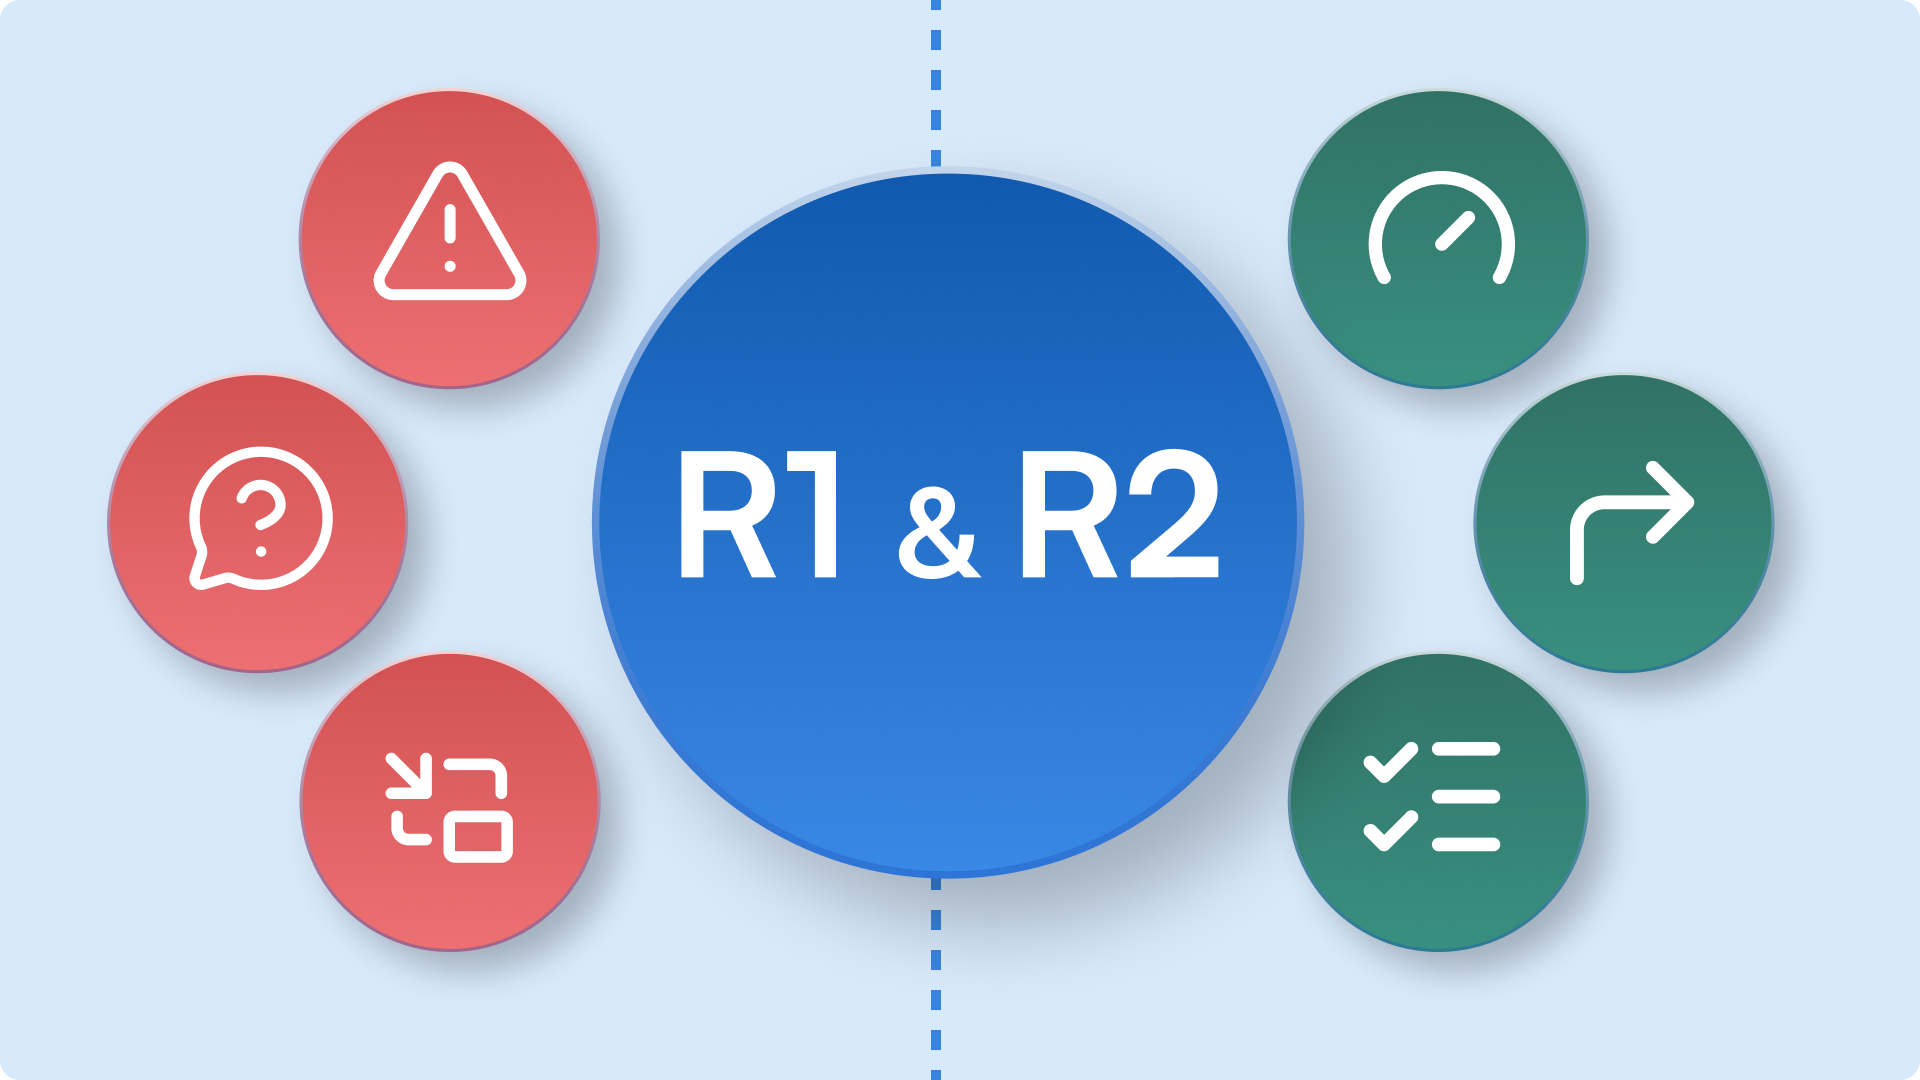
One major challenge with ERP training content is that the software is constantly evolving – new versions of Acumatica might change the UI or process steps. A video created for Acumatica 2023 R1 might become outdated if the 2024 R2 release introduces a new field or menu path. It’s important to plan for updates and maintenance of your training videos:
Version control your videos: Keep track of which Acumatica version each video was made for. A good practice is to label the video or description with the version (e.g., “Sales Order Entry (Acumatica 2023 R2)”). This way, if a user is on a newer version, they’ll know the video might have slight differences. When you upgrade your Acumatica, review the videos for any major changes that could confuse viewers and schedule a re-record if necessary.
Use tools to speed up updates: Re-recording entire videos from scratch for every update can be time-consuming. This is where leveraging specialized digital adoption tools or efficient processes helps. For example, tools like ClickLearn allow you to capture a process once and then auto-produce multiple formats from that recording. From a single capture, you can get a video tutorial, a written step-by-step PDF, a PowerPoint slideshow, and even an interactive simulation – all generated automatically. Even more useful, when Acumatica updates, you can re-run the capture on the new version and the tool will update your screenshots and steps in all outputs without starting over. This kind of solution ensures your training materials stay in sync with the software with minimal effort. While you don’t have to use a dedicated tool, at least consider maintaining master documents or scripts for your videos so you can easily identify what needs changing when the software changes.
Regular reviews: Set a schedule (maybe every 6 months or aligned with Acumatica’s release schedule) to audit your training content. Gather feedback from users – are there points in the videos that people find unclear? Do support tickets reveal any common questions that the videos aren’t answering? Use this input to refine your content. You might discover a gap in your video library (e.g., no video covers how to do year-end closing in Acumatica) – which then goes into your plan for the next content update cycle. Continuous improvement ensures your training stays helpful and relevant.
On-demand support: Beyond standalone videos, think about providing just-in-time help for users. Some training approaches embed help within the application so users can access guidance at the moment of need. For instance, a sidebar that lists relevant tutorials when the user is on a particular Acumatica screen. If you have the resources or a tool like ClickLearn, you can deliver those in-app walkthroughs or context-sensitive links to your videos. This greatly reduces “How do I do this?” questions because users can self-serve answers while they work. It’s an advanced practice, but worth mentioning for a comprehensive strategy – the easier you make it for users to access your training, the more they will actually use it.
Create impactful Acumatica training videos in 2025
Continuously improving your skills in how to create Acumatica training videos will keep your training content effective and current. By mastering how to create Acumatica training videos, you set a foundation for improved user understanding and system utilization. Creating effective Acumatica training videos is an investment that pays off in more confident users and a smoother ERP rollout. By carefully planning your content, scripting with the learner in mind, and leveraging best practices in recording and editing, you can produce engaging, informative videos that demystify Acumatica’s complexity. Remember to keep each video focused and concise, use visual and audio cues to enhance understanding, and integrate the videos into your organization’s learning ecosystem – whether through an internal portal or embedded directly in Acumatica’s help.
Training is not a one-time event but an ongoing process, especially as your company evolves and Acumatica updates. The good news is, with a solid foundation of videos and possibly some smart tools, maintaining and scaling your training program becomes much easier. You’ll ensure that every new employee, external partner, or anyone new to Acumatica can get up to speed quickly, following the best practices captured from your top experts (since you recorded the processes the right way from the start!). The result is a more self-sufficient user base, fewer support headaches, and better ROI on your Acumatica system.
By following this guide and continuously refining your approach, you can develop an evergreen library of Acumatica training videos that will serve your organization for years to come – keeping users engaged, informed, and productive on the platform. Happy recording, and here’s to empowering your team through great training content!
🎯 Want to see ClickLearn in action?
If you’re planning an Acumatica rollout – or any enterprise system launch – book a demo with Gail and discover how ClickLearn can streamline training, documentation, and user adoption at scale.
FAQ on How to create Acumatica training videos
Training videos help users understand Acumatica workflows faster and with fewer errors. They’re more engaging than written manuals, improve knowledge retention, and offer a consistent learning experience across departments, roles, and locations.
You can use screen recording tools like Camtasia, OBS Studio, or Loom — or automate the process with platforms like ClickLearn, which capture your Acumatica processes once and generate videos, PDFs, PowerPoint decks, and more from the same recording.
Aim for short, focused videos — typically 3 to 6 minutes per topic. This keeps users engaged and helps them quickly find and learn specific tasks (like “How to create a sales order” or “How to run a financial report”).
Whenever Acumatica’s interface or processes change, it’s important to update your training content. With tools like ClickLearn, you can re-record just the updated parts and automatically regenerate all outputs — saving time and ensuring consistency across video and documentation.
Yes. Acumatica supports embedded help via its built-in Wiki feature. You can link or embed training videos directly into wiki pages tied to specific screens or modules, so users can get contextual guidance while working in the system.
Prioritize high-impact workflows such as:
Sales and purchase order creation
Inventory and warehouse management
Financial reporting and period close
Vendor and customer management
Role-specific dashboards and approvals
Break each topic into small, actionable video segments.